Always Here for Advice

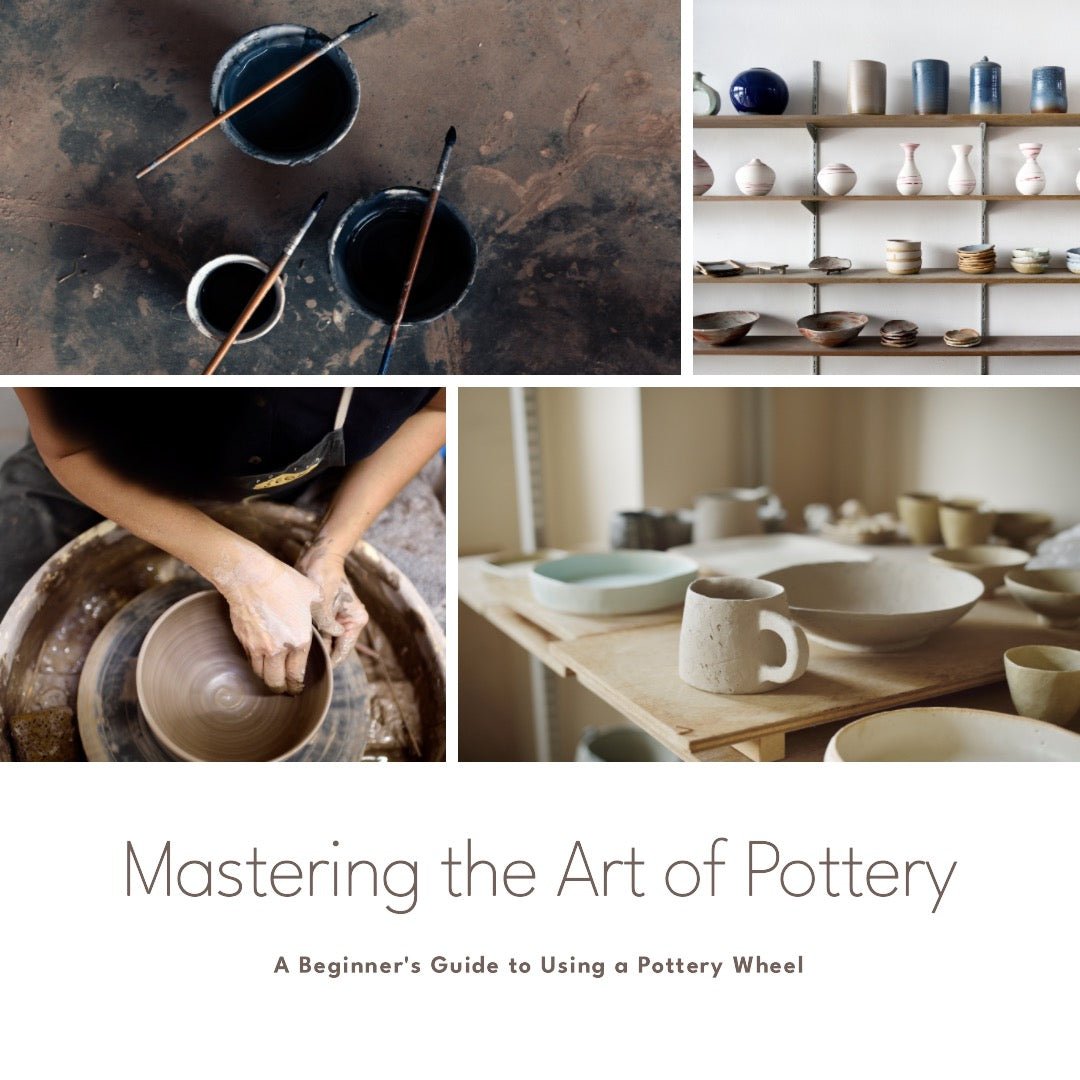
How to Use a Pottery Wheel: 10 Steps for Beginners
Pottery wheels have been around for thousands of years, helping artists create beautiful ceramic pieces. Let's explore how to use a pottery wheel, from choosing the right one to shaping your first pot. Pottery wheels come in different types, so we'll learn how to make the most of this tool.
Key Takeaways
| Aspect | Details |
|---|---|
| Wheel Types | Electric wheels (beginner-friendly) and kick wheels |
| Important Factors | Price, size, power, wheel head size |
| Essential Steps | Choosing wheel, setting up, preparing clay, centering, shaping, finishing |
| Key Skills | Centering clay, opening and pulling, shaping and refining |
| Maintenance | Regular cleaning, lubrication, and checks |
1. Choosing the Right Pottery Wheel for Beginners
Before you start throwing clay, you need to pick the right pottery wheel. There are two main types: electric wheels and kick wheels. Electric wheels are more popular for beginners because they're easier to use and control. They give you steady speed so you can focus on learning how to shape the clay.
When choosing a pottery wheel, think about:
- Price: Pottery wheels can cost between $400 and $1,500
- Size: Make sure it fits where you want to put it
- Power: Look for wheels with at least 1/3 horsepower for beginners
- Wheel head size: 12-14 inches is good for most projects
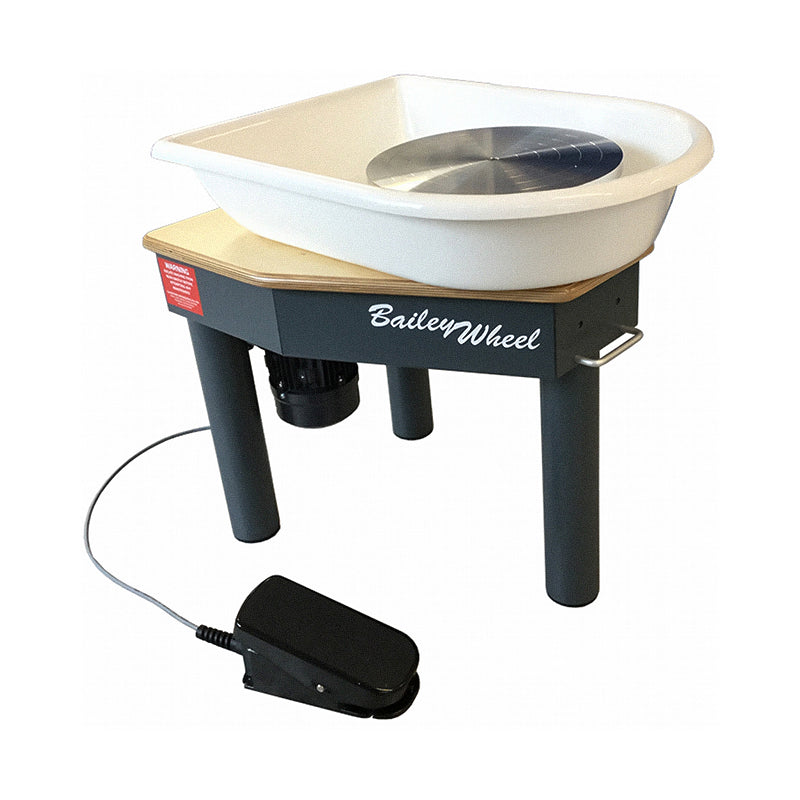
For beginners, the Gladstone G34 Bailey Wheel is a great choice. It's strong, reliable, and perfect for learning the basics. This wheel gives you good power and control, making it great for those just starting out with pottery.
2. Setting Up Your Pottery Wheel
Once you have your wheel, it's time to set it up. Here's what you need to do:
- Find a flat, stable surface for your wheel
- Make sure you have water and electricity nearby (for electric wheels)
- Set up a splash pan to catch extra clay and water
- Adjust the seat height so your elbows are comfortable when your hands are on the wheel
- Make sure you have good lighting to see your work
- Put your pottery tools where you can easily reach them
Creating a comfortable workspace is important for developing your pottery skills. Think about how you sit and arrange things to avoid getting tired during long pottery sessions.
3. Preparing Clay for the Pottery Wheel
Before you start throwing, you need to get your clay ready:
- Choose clay that's good for wheel throwing, like stoneware or porcelain
- Wedge the clay to get rid of air bubbles and make it even
- Make a ball of clay, about the size of a grapefruit for beginners
- Make sure the clay isn't too wet or too dry
Getting your clay ready the right way is really important. Clay that's well-wedged is easier to center and shape, which helps prevent problems in your finished pot.
4. Centering Clay on the Wheel
 Centering is one of the most important steps in using a pottery wheel. Here's how to do it:
- Wet your hands and the wheel head
- Put the clay ball in the middle of the wheel
- Start the wheel at a medium speed
- Use both hands to press the clay down and inward, making a cone shape
- Slowly press more to flatten the cone into a smooth, centered mound
- Use your fingertips to feel if it's wobbling or uneven
Remember, centering takes practice. Don't worry if it doesn't work perfectly the first time! Many potters find that using their whole body, not just their hands, helps in centering the clay better. Try to stay relaxed and use your core strength to press evenly.
5. Opening and Pulling the Clay
Once your clay is centered, it's time to shape it:
- Use your thumbs to press down in the middle of the clay, making a small well
- Slowly make the opening wider, keeping the bottom thick for stability
- Use your fingers to pull the clay walls up and out, making them thinner as you go
- Keep your hands wet so the clay doesn't stick
- Press evenly to make sure the walls are the same thickness
- Use your other hand to support the outside of the clay as you pull


Opening and pulling is where your pot starts to take shape. It's important to work slowly and carefully, paying attention to how the clay feels in your hands. As you practice more, you'll get better at knowing when the clay is the right thickness and height for what you want to make.
6. Shaping and Refining Your Pottery
Now comes the fun part - shaping your pottery! You can make different things like bowls, vases, or plates. Use your hands and simple tools to refine the shape and add details. Remember to keep the clay wet as you work. Here are some tips for shaping:
- Use a sponge to smooth the surface and wipe off extra water
- Gently press with your fingers or a rib tool to create curves and shapes
- Trim extra clay from the bottom using a needle tool
- Add decorative parts like ridges or patterns using different pottery tools
Try different shapes and techniques to find what you like. Don't be afraid to try new forms or challenge yourself with more complex designs as you get better.
7. Finishing Touches and Removing from the Wheel
When you're happy with your piece:
- Smooth the surface with a damp sponge or your fingers
- Use a wire tool to cut the piece off the wheel head
- Carefully lift your creation and put it on a board to dry
- Think about adding any final decorative touches or signatures
- Let the piece dry slowly, cover it with plastic if needed to prevent cracking
The drying process is really important for your pottery. Make sure your piece dries evenly to prevent warping or cracking. Once it's leather-hard, you can further refine the shape or add details through trimming if you want.
8. Troubleshooting Common Pottery Wheel Issues

Don't worry if things don't go perfectly at first. Here are some common problems and how to fix them:
- Clay wobbling: Re-center and try again
- Walls collapsing: Use less water and support the clay better
- Uneven thickness: Practice pulling evenly and use your fingers as a guide
- Clay sticking to hands: Keep your hands wet but not too wet
- Difficulty opening the center: Press harder and keep your fingers together
- Air bubbles: Wedge your clay more before throwing
Remember that every potter faces challenges, and solving these problems is part of learning. With practice, you'll get better at handling these common issues.
9. Maintaining Your Pottery Wheel
To keep your pottery wheel working well:
- Clean it after each use, removing all clay
- Oil moving parts as the manufacturer suggests
- Check for any loose bolts or parts often
- Store your wheel in a dry place when not using it
- Check electrical parts (for electric wheels) regularly
10. Next Steps in Your Pottery Journey
As you get better, you might want to try more advanced techniques or even get a pottery kiln to fire your own creations at home. Think about taking classes or workshops to learn new techniques and meet other potters in your area.
Conclusion
Learning how to use a pottery wheel is an exciting journey that mixes creativity, skill, and patience. With practice and not giving up, you'll be making beautiful ceramic pieces soon. Remember to enjoy the process, try different techniques, and don't be afraid to make mistakes - that's how we learn and grow as artists. Each piece you create is a step forward in your pottery journey, showing your improving skills and unique artistic ideas. Happy throwing!
Using a Pottery Wheel
Choose the right wheel
Set up your workspace
Prepare the clay
Center the clay
Open and pull the clay
Shape and refine
Add finishing touches
Remove from wheel
Let it dry
Fire and glaze (optional)