Always Here for Advice
What Is Slip Casting? A Complete Guide to Slip Cast Pottery
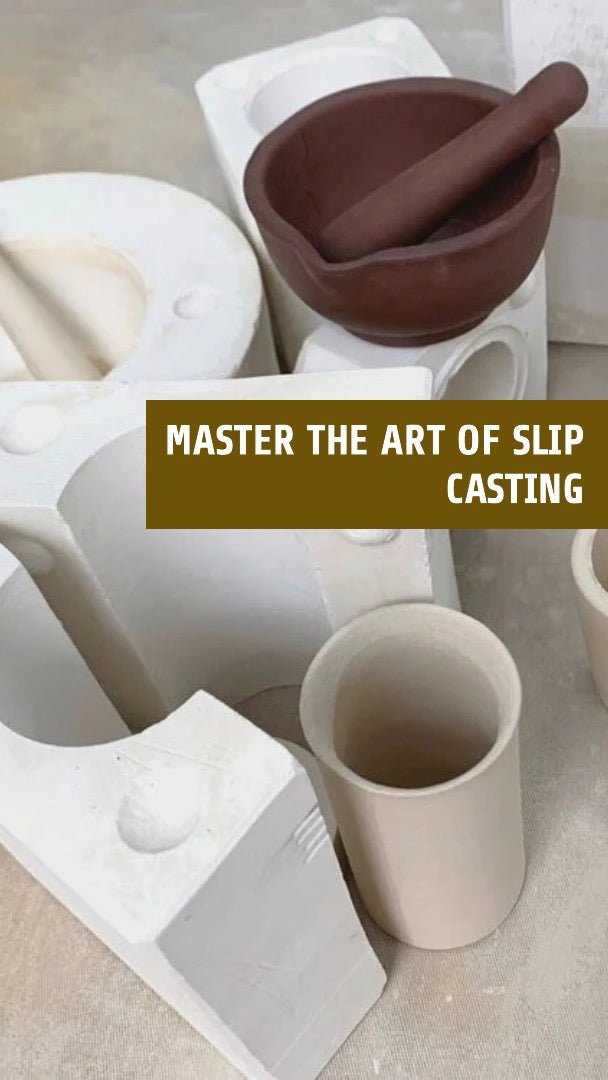
Slip casting is a ceramic forming technique where liquid clay — known as casting slip — is poured into an absorbent plaster mould. As the plaster draws water out of the slip, a solid clay wall builds up against the mould surface. Once that wall reaches the right thickness, the excess slip is poured away, leaving a hollow clay form that can be fired and glazed like any other piece of pottery.
It's the technique behind most of the matching mugs, teapots and figurines you'll see on the high street — and it's far more accessible to home potters than many people think. This guide covers how slip casting works, what you need to get started, and the common problems to avoid.
What is casting slip?
Casting slip is clay suspended in water with a small amount of deflocculant — usually sodium silicate or Dispex — which keeps the mixture fluid without needing excess water. That matters because a slip with too much water shrinks excessively as it dries, causing cracking and warping. A properly deflocculated slip pours like double cream but contains nearly as much clay solids as a plastic throwing body.
You can buy ready-mixed casting slip in earthenware, stoneware and porcelain versions, or make your own by blunging down a clay body with water and deflocculant. For beginners, ready-mixed slip removes the guesswork — consistency and specific gravity are already balanced for casting.
How slip casting works, step by step
1. Prepare the mould
Slip casting uses plaster moulds because plaster is porous — it pulls water out of the slip by capillary action. The mould must be clean and dry; a damp mould casts slowly and unevenly. Multi-part moulds are held together with strong rubber bands or straps.
2. Mix the slip
Stir the slip thoroughly to an even, lump-free consistency. If it has been standing, it may need a brief blunge and a check that it pours smoothly — thick, gloopy slip traps air and causes pinholes.
3. Pour in one steady stream
Fill the mould in one continuous pour, aiming at the centre to avoid splashing the walls. Top the mould up as the level drops — the plaster absorbs water quickly in the first few minutes.
4. Let the wall build
Leave the slip in the mould while the clay wall forms against the plaster. Casting time controls wall thickness: typically somewhere between 5 and 20 minutes depending on the slip, the mould and the size of the piece. Check by looking at the rim — you'll see the wall thickness building at the pour hole.
5. Drain and release
Pour the excess slip back into your bucket and leave the mould inverted at an angle to drain fully. Once the cast has firmed to leather-hard and pulled away slightly from the plaster, open the mould and remove the piece.
6. Fettle and finish
Trim the seam lines and pour hole with a fettling knife, then smooth with a damp sponge. The piece then dries to bone-dry ready for bisque firing.
Choosing slip casting moulds
Plaster moulds come in one-part (open shapes like bowls), two-part (mugs, vases) and multi-part designs (teapots, figures). Ready-made moulds are widely available in the UK, or you can cast your own from pottery plaster around a master form. If you're making your own, use proper pottery plaster rather than builder's plaster — it's formulated for absorbency and detail.
Look after moulds and they'll last for hundreds of casts: let them dry fully between sessions, never scrape the casting surface, and store them somewhere frost-free.
Slip casting vs throwing
Throwing on a pottery wheel is ideal for one-off round forms and the pleasure of working clay by hand. Slip casting wins when you need repeatability — identical sets, non-round shapes, very thin walls, or forms with handles and spouts cast in place. Many studio potters use both: thrown work for individual pieces, cast work for production lines and complex shapes. The two techniques also fire identically, so they share the same kiln.
Firing and glazing slip-cast pottery
Slip-cast ware is fired exactly like hand-built or thrown pottery: a bisque firing first, then a glaze firing to the temperature your slip is rated for — earthenware slips typically to 1060–1140°C, stoneware to 1200–1280°C. A compact home pottery kiln handles slip-cast work comfortably, and because cast pieces are often thin-walled and uniform, they fire very evenly.
Glazing is the same process too — see our step-by-step guide on how to glaze pottery for dipping, brushing and firing your cast pieces to a finished surface.
Common slip casting problems
Pinholes in the cast: usually air trapped in the slip — stir more gently, pour in one stream, and let freshly mixed slip stand briefly before use.
Uneven wall thickness: a damp or worn mould absorbs unevenly. Dry moulds fully between casts and rotate which moulds you use in a session.
Cast sticking in the mould: removed too early or the mould surface is clogged. Wait until the piece pulls away from the plaster naturally, and never apply oil or soap to a casting surface.
Cracking at seams or rims: typically uneven drying — dry casts slowly, away from draughts and radiators.
Slip casting FAQs
Is slip casting easier than throwing?
They're different skills. Slip casting has a gentler learning curve for producing usable pieces — the mould does the shaping — but mould preparation, slip consistency and fettling all take practice to get right.
Do you need a kiln for slip casting?
Yes — slip-cast pieces are raw clay and must be bisque fired and glaze fired like any other pottery. A small plug-in kiln is enough for most home slip casters.
Can you reuse drained casting slip?
Yes. Slip poured back out of the mould goes straight back in your bucket and can be reused, topped up with fresh slip as needed. Keep it covered so it doesn't dry out or pick up plaster debris.
How long do plaster moulds last?
A well-cared-for plaster mould typically gives 80–150+ casts before the fine detail and absorbency degrade. Drying the mould properly between uses extends its life significantly.