Always Here for Advice
Mastering the Art of Slip Casting: Techniques and Tips for Perfect Ceramics
Key Takeaway Table
Key Point Description Definition of Slip Casting A ceramic forming technique used for creating complex shapes, involving the use of liquid clay known as slip. Preparation of Clay Body Slip Involves mixing fine clay particles in a liquid medium with additives to maintain low viscosity and prevent particle aggregation. Mold Selection and Use Pouring the slip into absorbent plaster molds, which shape the ceramic and absorb excess water. Layer Formation and Thickness Control As water is absorbed by the mold, a clay layer forms against the mold surface, with careful monitoring required for uniform thickness. Casting Time and Complexity A time-intensive process, ideal for intricate designs not easily achieved through other methods.
Introduction
Delve into the intricate world of slip casting, a cornerstone technique in ceramic art and manufacturing. This blog post explores the essentials of slip casting, offering a step-by-step guide for both beginners and seasoned artisans. Discover how this age-old method can bring intricate designs to life and transform your approach to ceramic creation.
Understanding Slip Casting
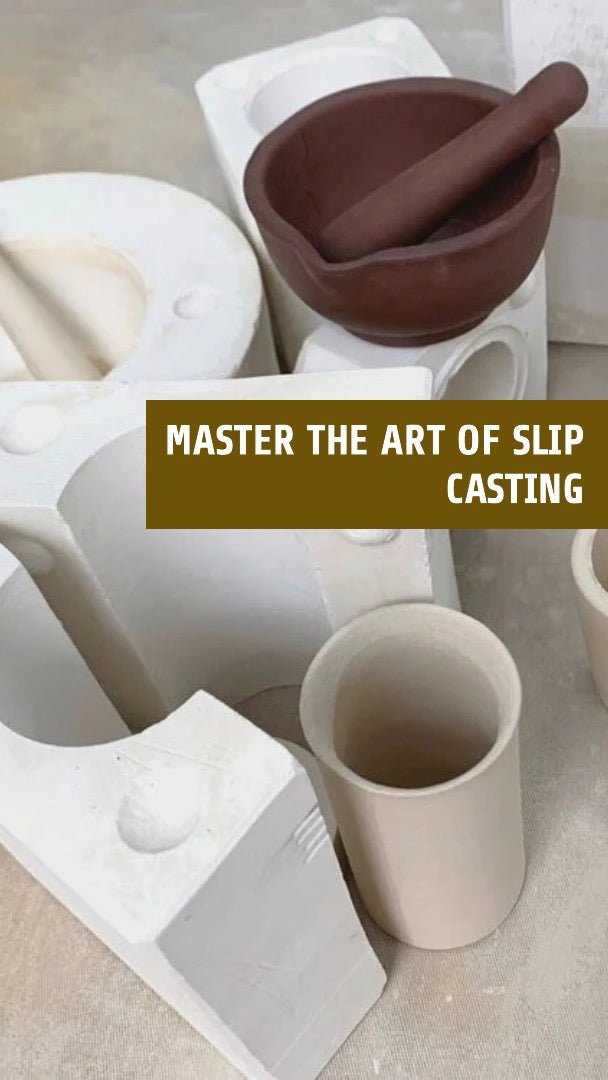
Slip casting stands out as a unique and invaluable technique in the world of ceramics. It involves the use of a fluid suspension of clay, known as slip, to mold intricate shapes not easily achievable through other methods. This section provides a comprehensive overview of slip casting, tracing its historical roots and its evolution into the modern ceramicist's toolkit.
Preparing the Clay Body Slip
The foundation of successful slip casting lies in the preparation of the slip. This process requires a blend of fine clay particles in a liquid medium, often supplemented with additives to reduce viscosity and prevent particle aggregation. For those looking to invest in quality equipment, the Gladstone G83 Slip Pump is an excellent choice for efficient and uniform slip preparation.
Key Steps in Preparing Slip:
- Selecting the right clay and liquid medium.
- Mixing to achieve the perfect consistency.
- Adjusting additives for optimal flow and stability.
The Role of Molds in Slip Casting
Molds are the defining tools in slip casting, shaping the liquid slip into the desired ceramic forms. This section explores the various types of molds used in the process, their properties, and the techniques for pouring slip into them. For enthusiasts looking to streamline their slip casting process, the G83A Mini Casting System offers a practical and effective solution for mold filling and maintenance.
The Process of Layer Formation
Once the slip is poured into the mold, the magic of slip casting truly begins. This stage is crucial for determining the final quality and appearance of the ceramic piece.

How Layer Formation Works:
- Water Absorption: The plaster mold starts to absorb water from the slip, initiating the layer formation.
- Layer Build-Up: As water is drawn out, clay particles begin to deposit against the mold's surface, gradually building up the ceramic layer.
- Monitoring and Control: Consistent monitoring is essential to ensure uniform thickness across the entire surface.
This part of the process is a delicate balance, requiring patience and precision to achieve the desired outcome.
Challenges and Solutions in Slip Casting
Slip casting, while rewarding, can present a variety of challenges, especially for beginners. Addressing these challenges head-on is key to mastering the technique.
Common Challenges:
- Achieving uniform wall thickness.
- Preventing the formation of cracks during drying.
- Ensuring the slip composition is consistent.
For each of these challenges, practical solutions and tips will be provided, helping you to navigate and overcome these hurdles with ease.
Finishing and Refining Your Ceramic Piece
After the casting process, the next critical steps involve finishing and refining the ceramic piece. This stage transforms the raw molded item into a polished and refined work of art.
Key Steps in Finishing:
- Removing the Piece from the Mold: Carefully extract the formed ceramic without damaging its structure.
- Trimming and Smoothing: Remove excess clay and smooth out the surfaces for a polished look.
- Decorating and Glazing: Apply decorative elements and glaze to enhance the visual appeal and functionality of the piece.
- Firing: The final firing in a pottery kiln solidifies the ceramic, bringing durability and finalizing the design.
Each of these steps requires attention to detail and a delicate touch to ensure the highest quality of the finished product.
Advanced Slip Casting Techniques
For those looking to push the boundaries of slip casting, advanced techniques offer new possibilities and challenges. This section will explore innovative approaches and tips for experienced users, helping them tackle more complex shapes and intricate designs.
Topics Covered:
- Multi-part molds for complex shapes.
- Using colored slips for unique aesthetic effects.
- Techniques for creating larger or more detailed pieces.
These advanced methods open up a world of creativity and technical skill, allowing artisans to fully express their artistic vision.
The Artistic and Practical Applications of Slip Casting
Slip casting is not just a manufacturing process; it's a form of artistic expression. This section will showcase the vast range of applications of slip casting, from functional pottery to sculptural art. Examples of stunning slip-cast pieces will be highlighted to inspire readers and demonstrate the versatility of this technique.