Always Here for Advice
Unleash Your Creativity: What to Make on a Pottery Wheel
Ever spun a lump of clay and ended up with… something questionable? Don’t worry—we’ve all been there! The short answer: make bowls, mugs, planters, and more on Beginner Pottery Wheels! This guide covers fun projects, essential techniques, and even usage & maintenance tips to keep your pottery wheel (and sanity) in top shape. Keep reading! 🎨✨

Unleash Your Creativity: What to Make on a Pottery Wheel (Beginner to Advanced)
Ever sat at a pottery wheel, full of excitement, only to end up with a wonky lump instead of a bowl? Don't worry—you’re not alone! Learning pottery is a journey, and every potter, from beginners to experts, has made their fair share of lopsided creations.
From simple ring dishes to sculptural masterpieces, this guide walks you through what to make on a pottery wheel at every skill level. We’ll cover essential techniques, must-have tools, and finishing touches. Ready to get your hands dirty? Let’s spin some clay magic! 🎨✨
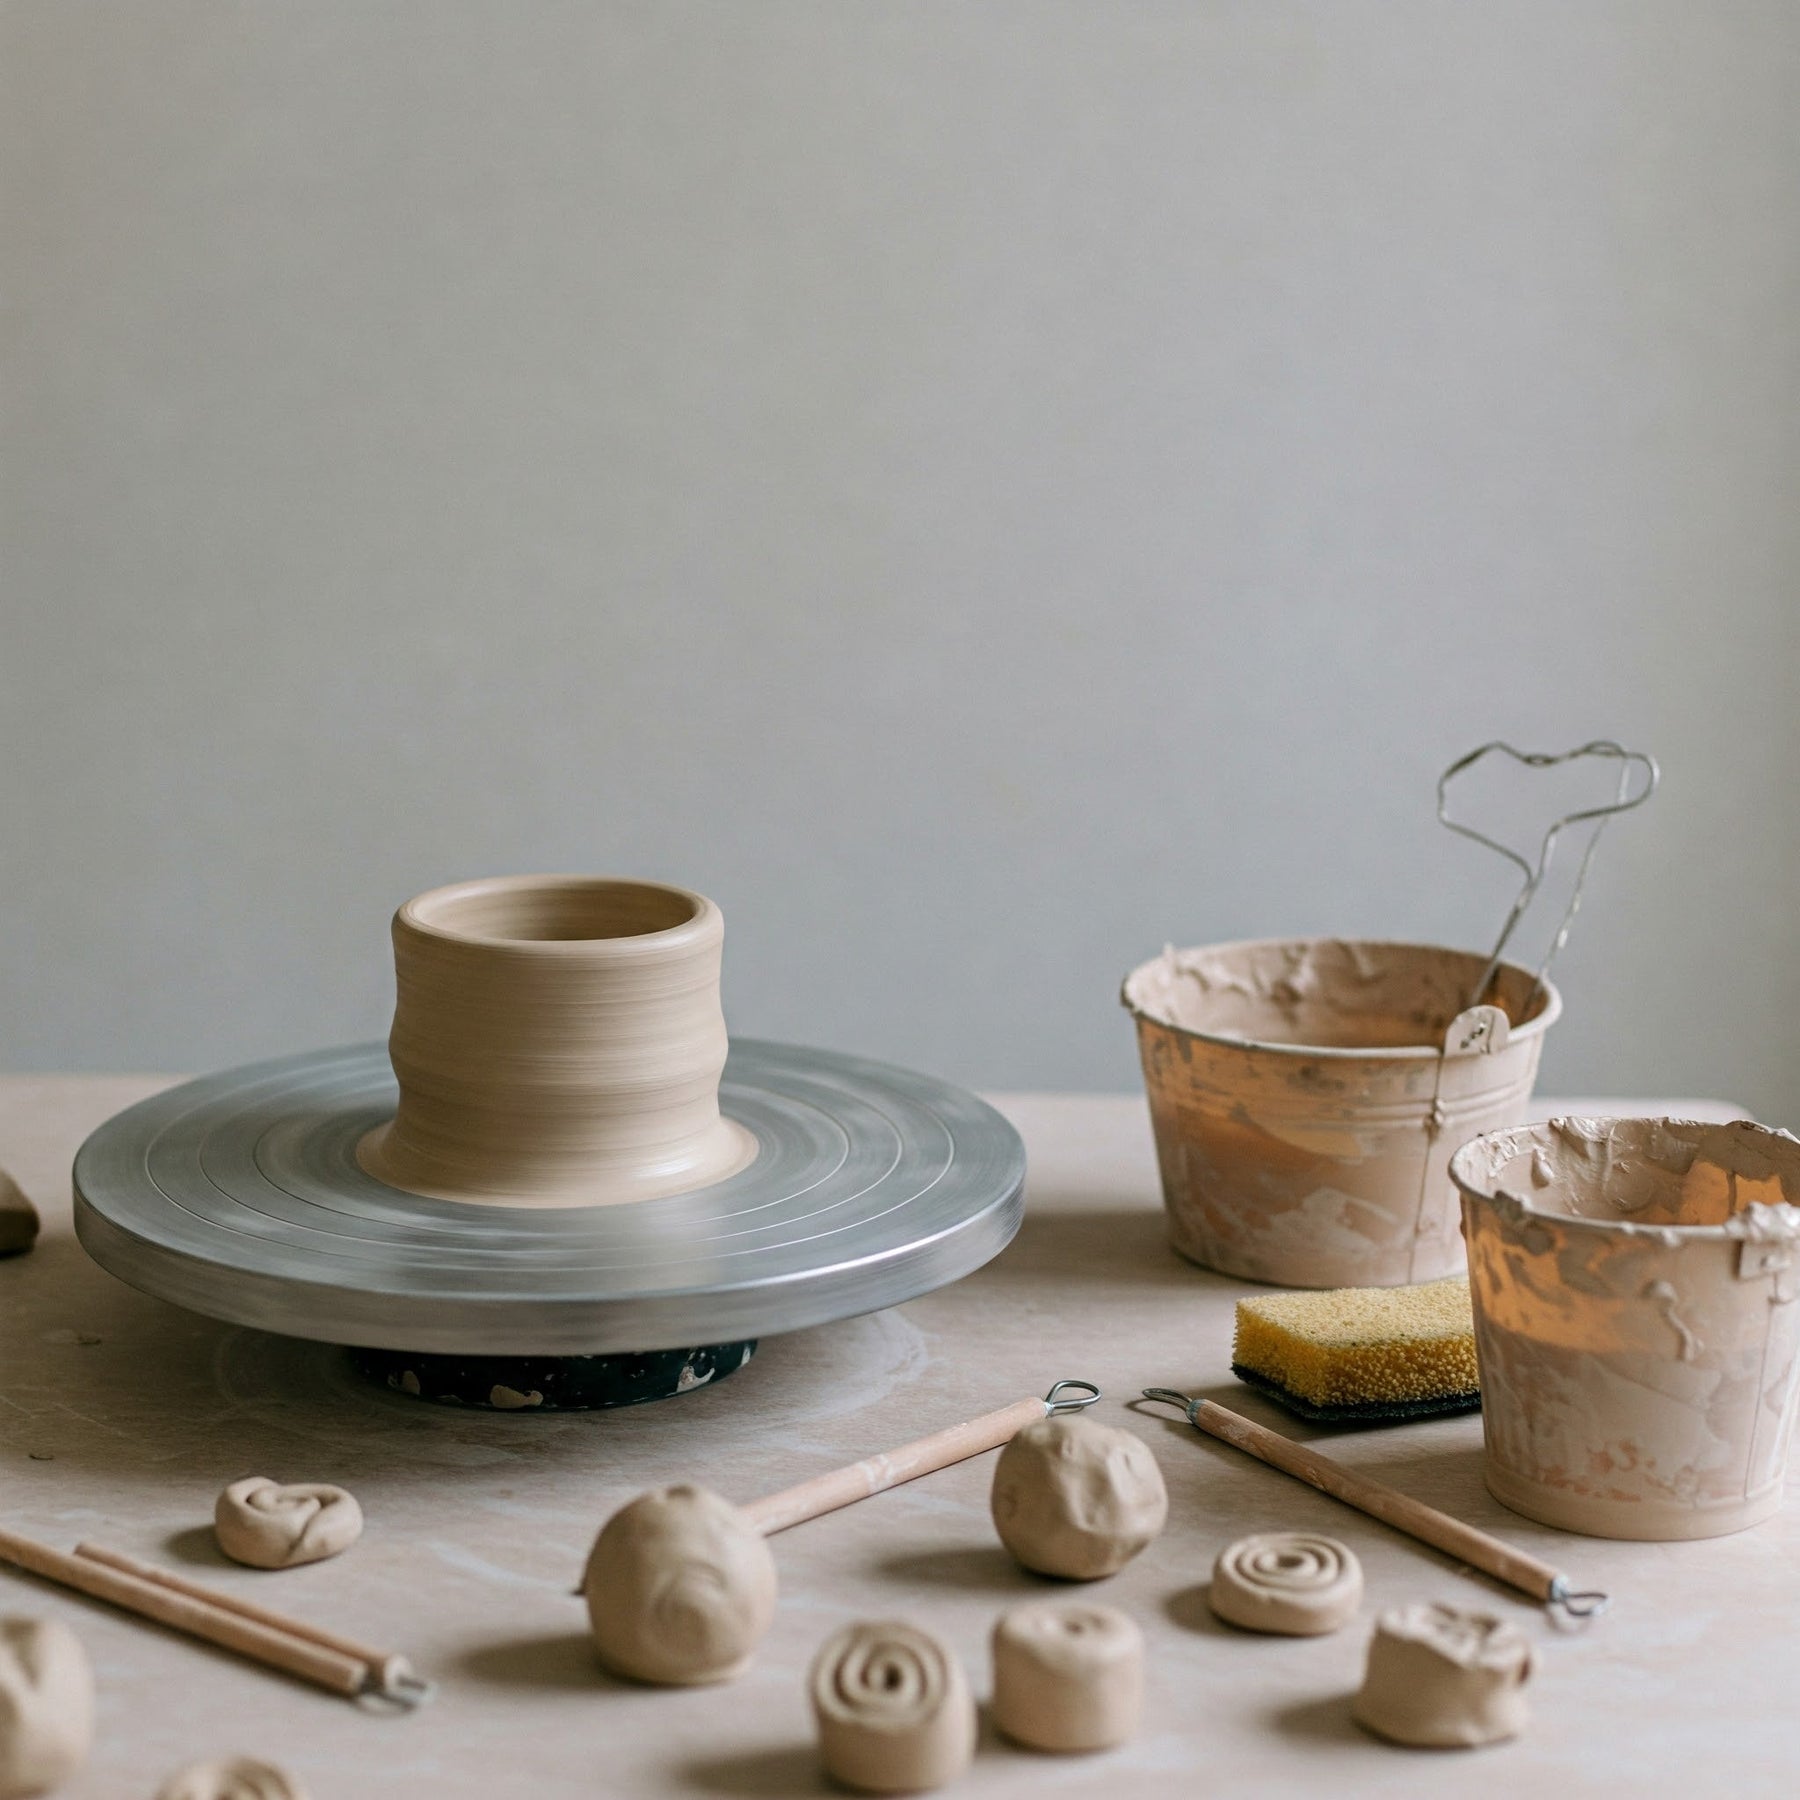
Getting Started: Essential Pottery Wheel Basics
Before diving into creative projects, let’s make sure you've got the right setup.
Understanding Your Pottery Wheel
Types of Pottery Wheels (Electric vs. Kick)
|
Wheel Type |
Best For |
Pros |
Cons |
|
Beginners & pros |
Speed control, effortless spinning |
Requires electricity |
|
|
Traditional pottery lovers |
No power needed, full control |
Requires leg strength |
An electric wheel is the easiest to start with, offering adjustable speed and stability. If you enjoy a hands-on approach and a bit of legwork, a kick wheel can be a rewarding challenge!
Key Components and Functions
Every pottery wheel has the following:
-
Wheel head – The spinning surface where you shape your clay.
-
Foot pedal/kick system – Controls speed (unless using a manual kick wheel).
-
Splash pan – Catches excess water and clay.
-
Bat pins & bats – Removable surfaces for easy project handling.
Clay Preparation and Centering
Choosing the Right Clay
Different types of clay give different results:
-
Earthenware – Great for beginners, easy to shape and glaze.
Whatever project you tackle, the finish matters as much as the form — see our guide to glazing pottery step by step before your first glaze firing.
-
Stoneware – Strong and durable, ideal for everyday mugs and bowls.
-
Porcelain – Delicate and elegant but tricky to work with.
Wedging and Preparing the Clay
Think of wedging like kneading dough—it removes air bubbles and ensures smooth, workable clay. Skipping this step could leave you with cracks or weak spots in your pottery.
If you ever scale up to teaching, production, or selling at markets, look at pottery pugmills — they automate the wedging step entirely and let you reclaim trim back into workable clay.
If you work with clay, it helps to understand what a pugmill is and how it works.
Mastering the Art of Centering
Centering is the foundation of wheel throwing. Press firmly with both hands, keeping your arms steady. If the clay wobbles, it's not centred—keep adjusting until it spins smoothly under your touch.
Essential Pottery Tools
Basic Tool Kit
You don’t need fancy tools to get started, but these are essential:
✔️ Needle tool – For scoring and step-by-step bowl trimming edges.
✔️ Ribs – To shape and smooth surfaces.
✔️ Wire cutter – Helps remove pieces from the wheel.
✔️ Sponges – Keeps clay moist and manageable.
Tool Maintenance
Rinse tools immediately after use—dried clay can damage them over time.
Finishing and Decorating Your Pottery
Trimming and Refinement
Fine-tune your piece once it's leather-hard for a professional finish.
Drying and Firing
Slow, even drying prevents cracks. Bisque fire before applying glazes.
Glazing and Surface Decoration
Types of Glazes
Glossy, matte, satin—each gives a unique finish.
Glazing Techniques
Dip, brush, spray—experiment to see what works best for your style.
Adding Decorative Elements
Engraving, stamping, or inlaying adds character to your pottery.
Conclusion: The Joy of Creating on the Pottery Wheel
From your first wobbly bowl to a perfectly crafted teapot, every step in pottery is an adventure. The beauty of handmade ceramics lies in the imperfections—so embrace them and keep experimenting!
Now, grab some clay, sit at your wheel, and start spinning—your next masterpiece awaits. 🎨🔥